Our Finished Project!!

It's bright and airy and shabby chic and feels like a cottage getaway....and we are going to make some AMAZING
memories with our boys. So many trips and adventures await us. State Parks here we come!


This is a shot with the shower/potty closed. It's a "bench" when it's not pulled up, and Adam is going to reinforce the seat, so that I can make it a reading nook for Jackson and I:

 And a shot with the shower curtains raised:


The Potty!!!!


The Shower!!!


What We Started With...

We took our first camping trip in the new popup about a week after we bought it. All we needed to do was load it with our goodies, and hit the road. And by goodies, I mean color coordinated decor so that it would feel like a cozy home away from home! Because my bedding hadn't arrived yet, I just grabbed the bedding from the boy's rooms (because they match! LOL). I bought a blue tablecloth to cover the brown warped table.


If you've ever been in a popup, the overhead lighting is functional. But awful. So I went to Target the night before the trip and grabbed these pretty grey burlap lamps on clearance for $15.00 ea. Great amount of light, and cute. Bonus: I have a cabinet that they fit perfectly in while traveling! I'm going to look at Hobby Lobby for a pretty florette accent that I saw last time I was there. Who knew they made lamp accessories?


In my hunt for new bedding, and all thing organizational for the camper, I found these soft tower bins at Garden Ridge.  Best part? They fold completely flat for traveling. Even better? They were 50% off red-line. $12.50 ea. The boys have a tower, and Adam and I have a tower. No living out of a suit case. Underwear and socks and jammies in the top, shorts in the middle, shirts on the bottom.


I needed food storage containers. Critters come out when they smell food and goodies. I found these Better Homes and Gardens brand seal-tight containers at Wal-mart. They worked out GREAT on the first trip.

I enjoyed bringing my crock pot camping this time! Easy lunch! Next trip will be a little chillier, so a crock full of warm soup will be awesome! And no mess!


The camper was great when we bought it...
we just made it better!

Curtains

The curtains in the camper were functional. Black out fabric on the back, a simple tan color, clean. They were just a little too plain for me. I wanted something funky. And functional. And fun.

After buying the pretty square beige fabric at Hobby Lobby, I brought it home, held it up to see how it all fit together....and I hated it. It just didn't go with the rest of the camper. It was way too yellow compared to everything else in the color scheme. 


After hanging the shower curtain, my mother says "why don't you get a few more shower curtains and use those as your curtain fabric?" Genius! And cost wise, it was only about $10 more to have exactly what I wanted vs a fabric that didn't match. 

We went on the hunt for 4 more shower curtains. I found 3 at one Target, and Mom found one at another. So we had the curtains in hand...but they were still that crazy stark white color. So what do we do?! Tea stain 4 shower curtains in moms master bathtub. And they came out great!!!

Now the next part, I have no photos of. Because in the chaos of baseball games, in-laws coming to town, more baseball games, and a photoshoot, I didn't have time to work on curtains....but my momma did! Or, well, she made time. 

And she didn't bring them back til the very last day of renovations, and they were like the bow on the top of the present, the cherry on top!

If you are cutting, sewing, and hanging your own curtains, there are lots of blogs and tutorials. But the key? Grab the curtain clips. If your popup doesn't have any, this is an AMAZING resource/store:


I had to call the other day to ask about a light for the camper that had cracked, and Derek is super nice and FULL of helpful information. Need a part? Not sure what you need? Give him a call!

Kitchen

The kitchen in the popup is very functional. The sink is great, the stove is removable and can be taken outside and attaches to the side of the camper. The little fridge works, and there is plenty of storage....but it was ugly. And in the renovation, the entire kitchen just brightened up! But the faucet, was....well, boring. And stainless. And not sure if I had mentioned it before but the new hardware for the cabinets is now oil-rubbed bronze; thus the builder-grade sink faucet no longer matches with my glamping decor! It needed to be replaced.

In an ideal world, I would find the prettiest bar/bath faucet in a clearance bin at Garden Ridge or Home Depot. But that didn't happen. And I was checking often. These little buggers are expensive! $100+ for a small faucet. Apparently I haven't replaced many faucets in my time. 

But I have found that if I can't find something, Amazon.com can. And the best part? We are Primers. Yup. Free shipping, sometimes the next day. And I found the faucet that I wanted!!! Yahtzee! And it was {only} $49.00. Prime. 

So I bought it. And it was on my porch the next day. Priceless.


And it matches perfectly! Never thought I'd be excited over a faucet. But I am!

Shower Curtain

Our popup has a shower. Yes! And a potty. Yes! All in one, tiny little "room", that is seriously the best part for me. The last time we went "tent camping", I had to pee in the wee hours of the night. And I don't pee outside. I mean, I'm a boy mom and all, but really, that's a no go for me. You won't catch me popping a squat. Ever. So I had to wake up at 4am, pitch black, start the truck (I'm sure I woke up nearly every camp site around us), go up to the communal restrooms, and prayed to the Lord the entire time that a serial killer was not hiding in one of the stalls. NEVER AGAIN.

So after our first trip out with the popup, I noticed that the shower curtain was white vinyl. Cheap, thin, white vinyl. Nothing wrong with it--did the job of making privacy, but it added nothing to the decor of the popup. And I needed something cute to add a little color.

I found a shower curtain at Target that I fell in love with:

Color was just blue enough to add some color, but soft enough to not jump out at you. So pretty! I brought it home and instantly hung it up. It was perfect--or so I thought. Once the floors were done, the cushions were in, and the bedding was sitting on the beds, the color of the shower curtain struck me as odd. Hmmmmm...

Ah. Because it was WHITE and everything else in the camper was ANTIQUE WHITE. Oh the horror! No one else would have noticed it, I'm sure. But I did. And it would bug me. As I'm sitting staring at the shower curtain, I said to my mom "Huh, wonder if we could tea-stain it? Wouldn't that turn it a little more off white/brown?" Yes it would! And so I stained it.

I didn't follow any special "recipe" and I'm sure there are MANY on the internet. I just made a bunch of pitchers of tea and threw the shower curtain in the sink! 


It just antiqued it enough to take the stark white out of the curtain. 

Ignore the horrible pictures. I shot them really quick in my kitchen, under those terrible translucent lights. :( Sorry. You'll see the full effect in the "after" pictures coming soon!

BONUS: We have this bar that you use to flip the kitchen over when putting popup up down and away. But it was an ugly brown. After we painted cabinets, I had bought contact paper for the drawers...and it ended up being nearly the same design as the shower curtain!....but, It's white. Oh well! I like it!


Countertops

We were seeing the light at the end of the tunnel. Only a few more projects left on the list, and we would be done--and we were only 2 days in at this point! Check Check Check! 

When we brought the popup home, and my mind started researching and blogging, and finding really cute campers, one thing I was seeing over and over again was everyone had been using the Rust-oleum Countertop Transformation Kits. It seemed like a super easy process, and made a HUGE impact on the look of the PUPs. Our counter tops were in excellent condition...they were just grey. Simple. But a transformation would make them POP!

I went to Home Depot, with the hopes of finding exactly what I was looking for; no such luck. So I had to jump online and SEARCH for a box. These boxes aren't cheap. And as Adam said "We don't need new counter tops. These are fine. NOT spending $150 on a kit." Ugh. Hate it when he says crap like that! LOL! So I was determined to find a clearance box SOMEWHERE. Insert: Ebay. Go figure! I found a box, in the color we wanted, for $75. SCORE! And it's Ebay, so if the seller doesn't send it, I get my money back. DOUBLE SCORE!

While I waited on said box to ship, I watched this video, over and over and over!


And to my surprise, the box showed up 2 days early!!! Everything else in the camper was complete, and we didn't even have to wait to do the next step!

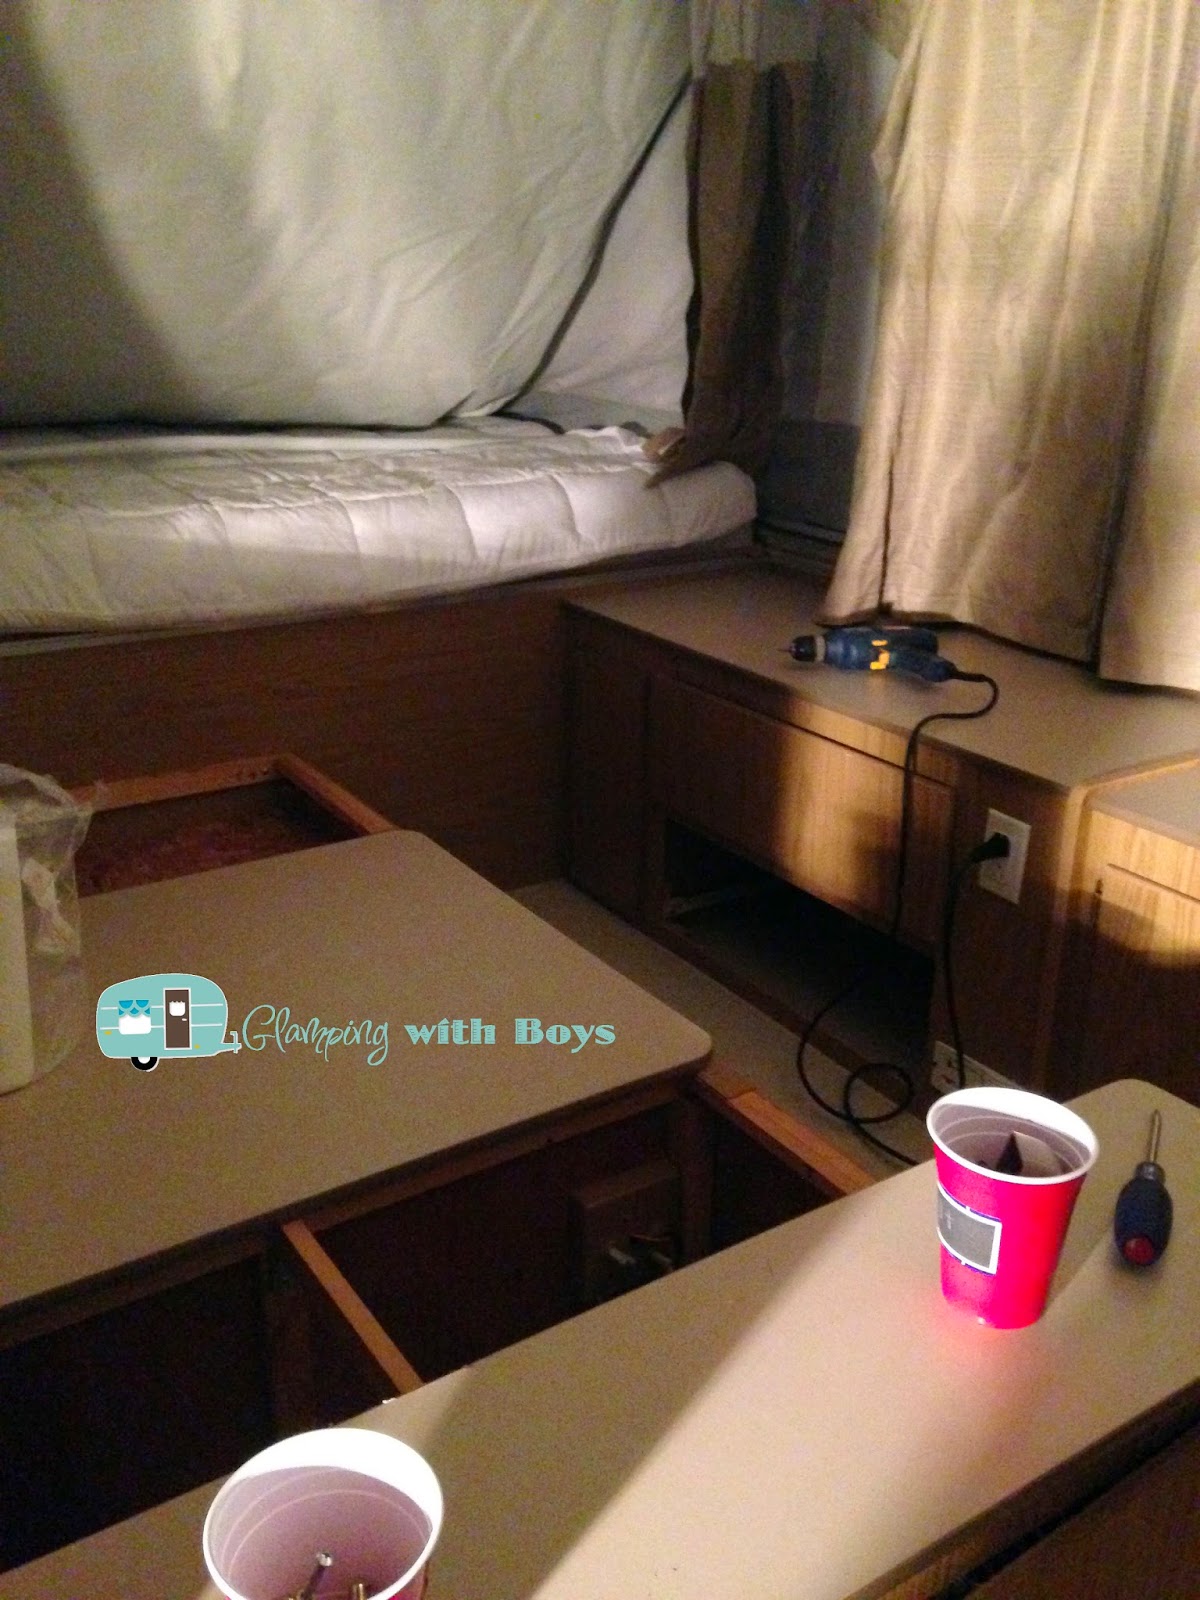
But before we could work on the counter tops, we needed to cut a few new pieces for the popup.

Our kitchen table was warped. It was like that when we bought it. A little bit of water had apparently caused the edge to swell. So Adam said he could cut a new piece, no problem.

In addition to the table, the counter top around the kitchen sink had experienced the same issue: water had caused swelling along the edge. It was slight, but knowing that we have boys, and they wash their hands and water splashes, we needed to replace that piece of counter top with real wood. 

Handy Hubby to the rescue! He can build anything. Give him a saw, a tape measure, and a piece of wood, and we have a new table and counter top. Bam!


Once cut, we were ready to start the restoration. We've used the cabinet restoration, and this seemed just as simple. Follow the steps EXACTLY!


I had gone to Home Depot earlier in the day and bought all of the supplies that are on the list in the box. It was late after baseball practice, but we needed to get the first coat of adhesive down so it could cure for 12 hours. Jackson helped, while Everson slept! (that would be Everson in the camo shirt under the covers. Sweet boy....

Note: we took him inside BEFORE we started anything with paint and sanding. 
Don't worry!
 

Our first step was to cover all of our awesome new floors and tape tape tape the cabinets.


Next, we grabbed the iPad and watched the video YET AGAIN! Just to make sure we didn't miss anything.


(yikes. late night. not pretty. But we were on a mission!)


We followed the directions exactly and after applying the adhesive paint, we did the fun part: adding the chips! And then, we went to sleep while the paint dried.


The next morning, we had a few places that we needed to reapply. And after another of baseball, the counter tops were ready to be sanded and final layer of "paint" applied. So simple, and yet such a HUGE impact in our camper! And once it was all dry, and ready to go, I spent 3 hours vacuuming up all those extra chips and dust. ugh!! What a mess! LOL!

Stay tuned!


BLOGSPOT TEMPLATE BY DESIGNER BLOGS